
It felt so cool, didn't it? That moment you realized you could lay down a nice long skid mark in the dirt when you tromped down hard on your bike pedal and locked up the brakes. Perhaps you and your friends even held a contest to see who could leave the longest skid mark in the driveway.
When you move up from a bike with foot brakes (known as coaster bikes) to a bike with hand brakes, it gets more challenging to bring the bike to a stop. Suddenly the simple act of pushing backward on the pedal won't stop the bike. Bikes with hand brakes, as the saying goes, require the left hand to know what the right hand is doing.
Getting young bike riders to move from foot brakes to hand brakes is an easy step that requires a little patience, a bit of experimentation and a small dose of guidance, but the payoffs are handsome. Hand brakes are much more efficient, provide riders with more balance and allow riders to fully control how they slow down and stop.
Teaching new bike riders how to use bike brakes is a skill that'll last a lifetime. Here are a few tips to make the experience of learning to use hand brakes both fun and safe for everybody involved.
Transition bikes
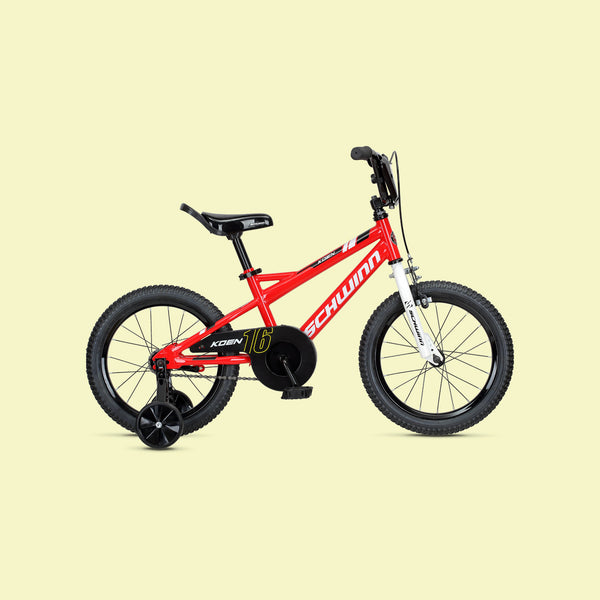
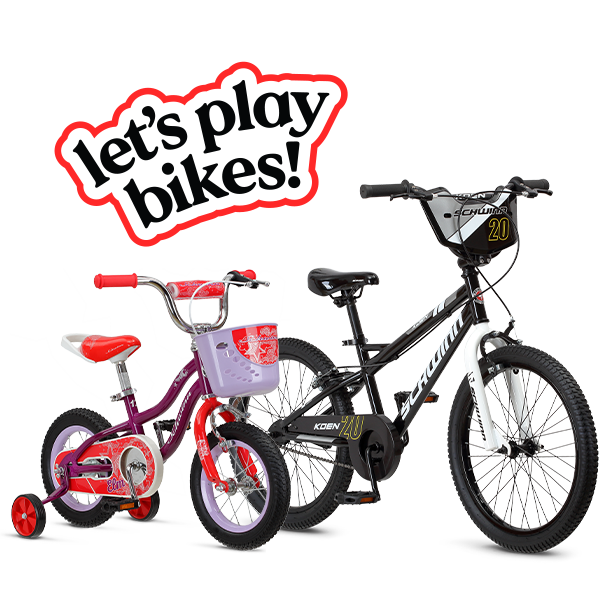
Not all bikes use foot brakes or hand brakes exclusively. Some use both. Take, for instance, a number of our kids bikes that feature both a rear coaster brake (that reverses the pedals to stop) and a front caliper brake (a hand-brake). This combination of brakes makes it easier for young riders to transition to a hand-brake-only bikes when they’re ready.
Bikes featuring both braking systems are a good step up from coaster bikes. They introduce the general concept of hand brakes while still allowing them to rely on their foot pedals. They're particularly good for riders still using training wheels since they can use foot brakes and not be thrown off balance.

Breaking down brakes
Teaching a young rider how to use hand brakes on their bike won't take a whole lot of time. It may even be easier and quicker with a bit of background on how hand brakes work.
Here's a quick primer. There are three main parts to a bike's braking system.

Brake Lever
Mounted on the handlebars. The right lever controls the back brake, the left lever the front brake. The main advantage of hand brakes is that riders can be precise in the amount of pressure required to slow down or stop completely.

Cable
Runs from the levels to the front and rear tires and transmits the force applied at the levers to the braking mechanism at the tire.

Braking Mechanism
A caliper that uses the force transmitted through the cable to clamp down on either the tire's rim or the disc. Most of our kids bikes use rim brakes, but as riders mature and trade up for more advanced bikes (like a mountain bike), disc brake systems are more common.
A bike's entire brake system should be inspected regularly and may require some routine maintenance.
That's the basics of a bike's braking system. Now, how do we get kids to use the system properly?
Walk before you run, er, bike
The easiest way to introduce riders to using hand brakes is to walk them through the concept of braking before they even get on a bike.
Like, literally, walk them through it.
The simplest way to introduce the idea is to have the young rider stand to either side of their bike with both hands on the handlebars and have them push the bike as you walk alongside them. Have them use their right hand to apply gentle pressure to the right lever while you explain how the bike is slowing down and getting harder to push. Then have them try it with the left hand and the left lever. After they're comfortable using either hand, have them squeeze both levers at the same time. Throughout this entire process, have them pay close attention to how much pressure is used on the levers and how that makes the bike slow, stop or just generally harder to push.
Always take time to reinforce the notion of proper braking. Too much front brake may result in the rider launching over the handlebars, while too much back brake results in slower stopping times.
If you're feeling even more ambitious, remove the bike's pedals and lower the seat to its lowest position. With the rider astride the bike, have them walk (with you beside them) and push the bike on a flat surface. Have them experiment with using both hands to apply pressure to the brake lever. Continuously chat about what they're feeling and how the bike is either slowing down or stopping. Once they seem to have grasped the basic concept you can put the pedals back on, raise the seat to the correct position and move on to the next level.
It's all downhill
Once your young rider has walked beside or astride their bike and experimented with the pressure needed to bring the bike to stop, it's time to go to the next level.
For this step you'll want to find a small, gentle slope (with no traffic around).
Have the rider sit on the bike with their feet on the ground. Head downhill from them about 10-15 yards or so and tell them to start coasting toward you, picking up their feet as they pick up speed. They don't need to worry about pedaling. As they approach you, coach them to use the levers to bring the bike to a stop. Repeat this process a few times until they can consistently stop.

Pedal time
Once they're comfortable slowing and stopping the bike on the gentle slope, it's time to head back to the flat ground. In a slow and controlled manner, have them pedal toward you. Set up a target area for them to stop the bike using the hand brakes. Practice this until everybody is comfortable and then go on a short bike ride together in a safe environment.
You'll both be amazed at how quickly they picked up the skill of using hand brakes. Now plan on a bike ride together!