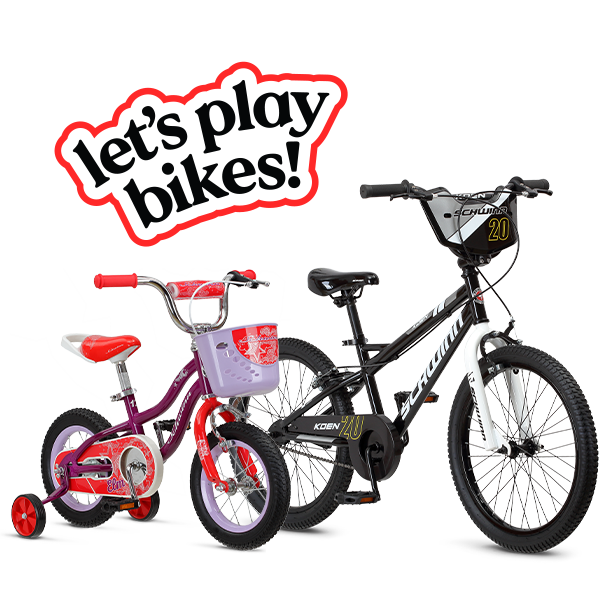
Once you’ve got the bike assembled, you’ll get to watch your child as they learn all about the joy of riding. Read the quick start guide below and your Schwinn kids’ bike owner’s manual. Both contain important safety information.
You'll need the following tools:
- 6 mm hex key
- 5 mm hex key
- 4 mm hex key
- Phillips screwdriver
- 15 mm open-end wrench
- 13 mm open-end wrench
- Scissors
- Lithium-based grease
Let's get started!

Step 1
Unbox the Bicycle
Take all bike parts out of the box and carefully remove packing materials. Unpack the small box containing the pedals.

Step 2
Install the Seatpost
Apply grease to the inside of the seat tube. Open the seatpost quick-release lever, then slide the seatpost into the frame. Ensure the seatpost is inserted past the minimum insertion line marked on the post.

Step 3
Install the Handlebar
Schwinn kids’ bikes come with one of two different handlebar types. These include a handlebar with a pre-attached stem (3A) and a handlebar with a removable faceplate (3B). Identify which handlebar you have and follow the appropriate step below.

Step 3A
Install the Pre-Attached Handlebar
Apply grease to the inside of the head tube. Insert the handlebar stem into the head tube.
Align handlebar with front wheel and use the 13 mm wrench to fully tighten the stem bolt.

Step 3B
Install the Loose Handlebar
Use the 4 mm hex key to remove the face plate from the stem. Place the handlebars in the stem plate and partially tighten the bolts.
Adjust the handlebars to the appropriate upright angle and fully tighten the faceplate bolts in an alternating X-pattern.

Step 4
Install the Front Wheel
Lift the front of the bike and lower the fork dropouts onto the wheel axle. Check to make sure the wheel is centered in the fork and between the brake pads.
Move the tab washers so that the tabs are inserted into the hole in each dropout. Then, use the 15 mm wrench to tighten each axle nut.

Step 5
Attach the Pedals
Pedals are side-specific; match them to the corresponding crank arm using the stickers. Apply a small amount of grease to the pedal threads. Hand-thread and then tighten the pedals toward the front of the bike with the 15 mm wrench.

Step 6
Inflate the Tires
Inflate the tires to the recommended PSI printed on the side of the tire. Never exceed the recommended PSI.

Step 7
Attach the Training Wheels (if included)
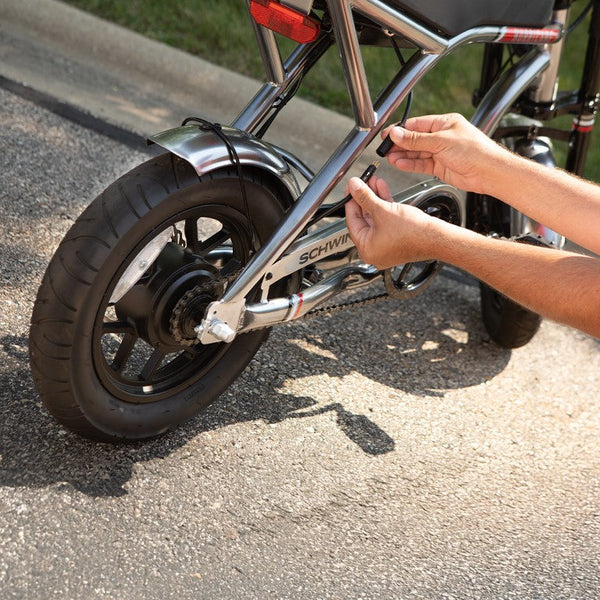
Remove the rear axle nuts and washers. Place the training wheels on each axle and then replace the washers and axle nuts. Fully tighten each axle nut with the 15 mm wrench.
Make sure the training wheels do not both touch the ground at the same time and adjust if needed.

Step 8
Do a Quick Safety Check
Push and pull on the handlebars and seat to make sure all parts are secure. Test the brakes to make sure they work. Finally, be sure to read your owner’s manual.
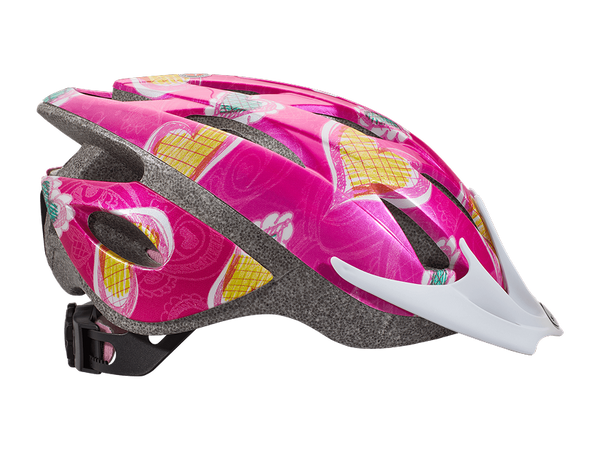
That’s it! Strap on their helmet, make sure it fits just right, and your little one is ready to ride. For tips on how to help them get started, check out our post on learning to ride a bike.
