Is there anything so thrilling as your first bike ride? The sense of adventure, achievement, and independence. The breeze rushing past your cheeks as you seem to fly down the sidewalk under a warm summer sun. There will most likely be popsicles later. Life is unbelievably good.
While we all want to deliver that moment, the prospect of actually teaching a child to ride a bike may be a bit daunting. When do we start? What do we need? What’s the best way to do this? Turns out, it’s probably easier than you think. And we’ve got it all mapped out for you right here.
When to start learning to ride
There’s no single perfect age for learning how to ride a bike. The most important thing is to start when your child is ready – when they have the balance, coordination, and physical strength to successfully operate a bicycle.
Some kids might be able to start as young as 2, but many wait until 4 or 5 years old. This allows your child’s motor skills and strength to develop a little more before taking on a pedal bike.
Choosing your child’s first bike
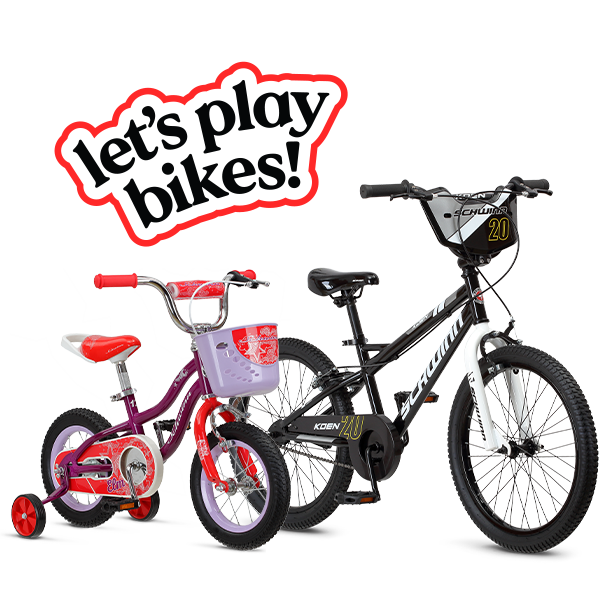
Of course, before you can get started learning to ride, you’ll need a bike for your child. Bikes for beginner riders come in two broad styles: balance bikes and pedal bikes. You can start your child with either type of bike, although balance bikes may be easier for the youngest riders.

Balance Bikes
Just like it sounds, balance bikes are designed specifically for establishing balance skills, and are a simple first step in learning to ride without training wheels. They don’t include pedals, gears, or brakes, and typically have an extra-low frame which makes it easy for little ones to get both feet flat on the ground while learning to push, stride, and glide.

Pedal Bikes
Kids' pedal bikes allow your little one to advance past balancing and use the included pedals and gears to propel themselves forward. Braking skills can also be developed using a pedal bike, either using coaster brakes or hand brakes. Coaster brakes are simple to learn and just require pedaling backward to stop, while hand brakes are typically found on big kids’ bikes and require some extra coordination and hand strength.
Kids bike sizing and fit
Whatever style you choose to start with, getting a bike in the right size to fit your child is key. A bike that fits your child correctly will be more comfortable, easier to control, and lead to more confident riding. With that in mind, Schwinn SmartStart bikes are a great choice for kids learning to ride since they aren’t just two wheels on a kid size frame, they’re actually engineered for kids’ proportions. Our kids' bike size guide here can help you find the right size for your child, or read more on our kids’ bike size guide.

Helmets and safety gear
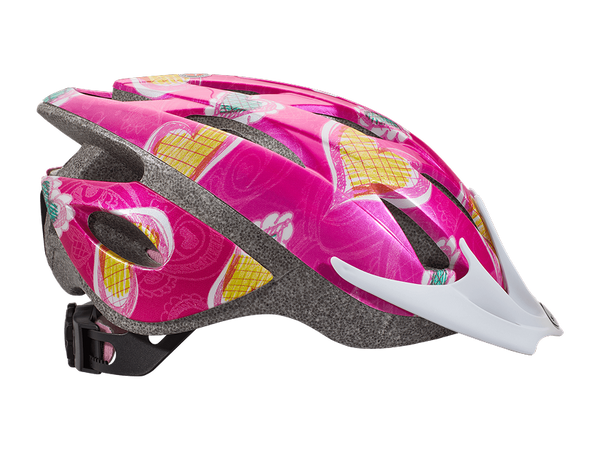
Next, your child will need a helmet. This is not optional. A helmet is a vital part of riding safety and it’s important to start good safety habits early. Although your child may be eager to get moving on their bike, ensure they always have their helmet on before they start riding.
Wearing the helmet properly is also key, a helmet that is the wrong size or not fitted correctly can significantly reduce its ability to protect the rider. Use the chart below to help find the right size helmet for your child, from there the fun part is picking their favorite color. You may also want to invest in additional safety gear for your child, like elbow and knee pads. While not strictly necessary, they can help prevent injury in the first wobbly days of learning to ride.

Where to learn to ride
After the bike and helmet, the only other thing needed is a good place to learn to ride. You’ll want a flat, open space free of obstacles and traffic. A soft grassy yard may seem like a good idea, but smooth pavement is the best to allow the wheels to roll easily. A set of small orange safety cones can be helpful in marking off the area or creating a course for them to practice steering.
Does your child need training wheels?
Training wheels are often included with kid’s bikes to help young beginners stay upright on their bikes while they learn to balance and pedal, but they are not absolutely necessary. It can actually be a better method to learn without training wheels because it helps kids develop their balance skills right off the bat. Sometimes training wheels help kids balance a little too much, and they become reliant on them. So, in the long run, it’s better for your child to learn without them.
If you choose to use training wheels or your child needs some help balancing, you can always install them, just make sure they are installed correctly to avoid overreliance. When properly installed, training wheels sit evenly just above the ground, supporting or “catching” the rider if they lean a little too far. This support helps kids build confidence as they work on balance and the mechanics of riding a bike, but they can’t do that if the training wheels are too low and continuously holding them in place.
Training wheels should temporary – very temporary. As soon as your child has mastered balancing on their bike, they can be taken off.

How do I teach my child to ride a bike?
Learning to ride a bike can be intimidating for a child, but it’s much easier to break the process down into separate foundational skills of pedaling, braking, and balance. By taking this step-by-step approach, your child can focus on learning each skill independently before combining them all together. Plus, if they struggle with one area, it’s easy to spend some more time perfecting that before moving on.
Beginning with balance
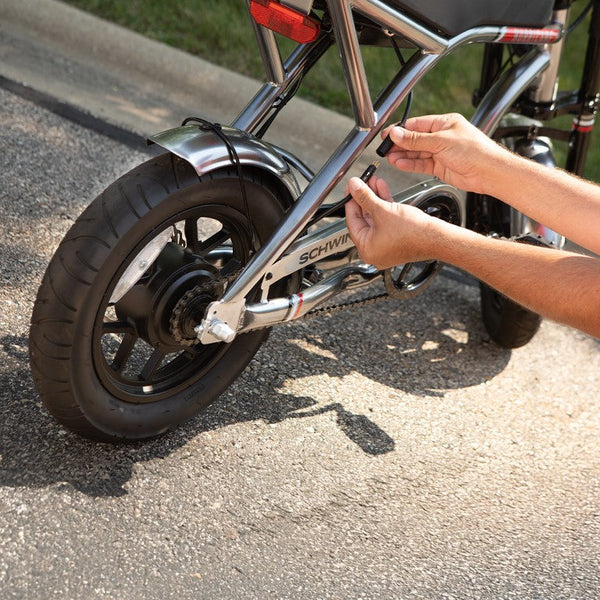
First, you’ll want to focus on balance. If you’re using a pedal bike it can be helpful to remove the pedals for this stage, or just have your child ignore them. To remove the pedals, grab a 15 mm wrench and loosen the pedal where it attaches to the crank arm. Always turn the wrench towards the back of the bike to loosen, or towards the front of the bike to tighten.
Once the pedals are off, have your child sit on the bike’s seat to check the seat height. Their feet should be able to comfortably sit flat on the ground, so adjust the seat height as needed. From there, it’s just “push, stride, glide.”

Push: Have your child push themselves along slowly with their feet, just like walking. Don’t worry about steering too much yet, but they can start to get the feel for using the handlebars.

Stride: As they get more comfortable with pushing the bike along, encourage them to pick up the speed a little and take longer strides, like running.

Glide: Finally, have them take a few strides to get some speed in a straight line, then try lifting both feet off of the ground to glide.
As they get the hang of it, have them practice gliding for longer distances. You can also work on steering by setting up a simple course of cones that they can navigate around. That’s all there is to it!
Braking basics
Once they’ve mastered balance, you can put the pedals back on if they were removed earlier. If you started with a balance bike, you’ll need to move up to a pedal bike at this point. Raise the seat height a bit, your child should be able to stand on their tiptoes while seated on the bike.
Before jumping into pedaling, it’s a good idea to explain how the brakes work. Kids’ bikes often have simple coaster brakes, which require pedaling backward to stop. Hold the bike while they’re on it and have them practice pedaling in reverse to get a feel for braking.
Even if your child’s bike has hand brakes, it’s a good idea to start with just the coaster brake for now. Hand brakes require more hand strength to operate, and can be a skill to learn all on their own. As they progress and grow though, learning to operate hand brakes is a key step in getting onto those big kids bikes.
Put it all together with pedaling
Finally, the key to making pedaling easy is starting with the crank and pedals level. While stationary, help them align the crank in a forward position, so one pedal is as far towards the front of the bike as possible. This will help them get leverage on those first pedal strokes to build enough momentum to balance.
Have your child push down on the forward pedal to start moving, then alternate and push on the opposite pedal once it rotates to the forward position. Keep that alternating left-right rhythm to match the rotation of the pedals, and that’s all there is to it!
Combine the braking technique now so they can ride slowly and bring themselves to a stop. Have them follow your direction to engage the brakes whenever you call “stop”. This helps them get used to stopping, and you can turn it into a fun game.

Keep it fun
Riding alongside your child is a great way to practice together once they’re comfortable combining balance, pedaling, and braking.
Don’t worry if it takes your child a little while to get used to riding though. Keep in mind that combining all of these new skills can be the most challenging part of learning to ride, so it may take some time. You can go back to any stage if more practice is needed; if your child struggles with balance while learning to pedal, they can always practice gliding for a while without using the pedals. Once they readjust, they can try again.
No matter how things go, always remember riding a bike is supposed to be fun and every kid will learn at their own rate. If they struggle or don’t seem interested at first, don’t push too hard. Keep things light, use lots of positive reinforcement, and take breaks when you need to – there’s no deadline here.
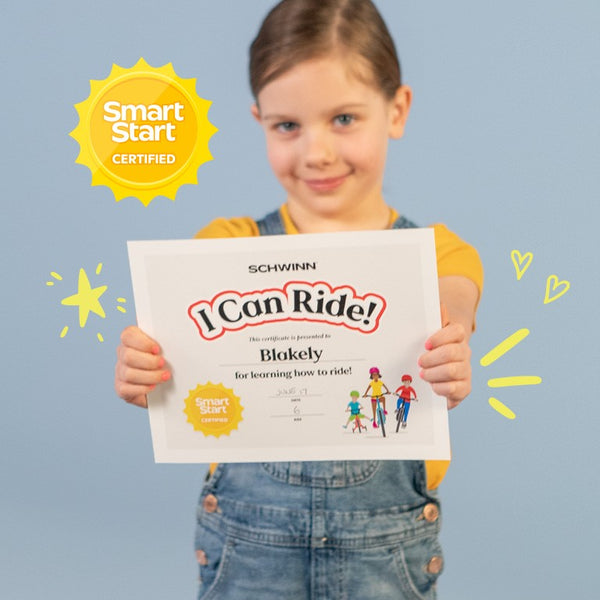
Learning to ride is a big deal for kids, so celebrate their success with a reward and be sure to print out an official SmartStart ‘I Can Ride’ Certificate! A great learning experience will encourage your child to keep riding for years to come.

